How to Replace Sliding Shower Door Rollers in 30 Minutes
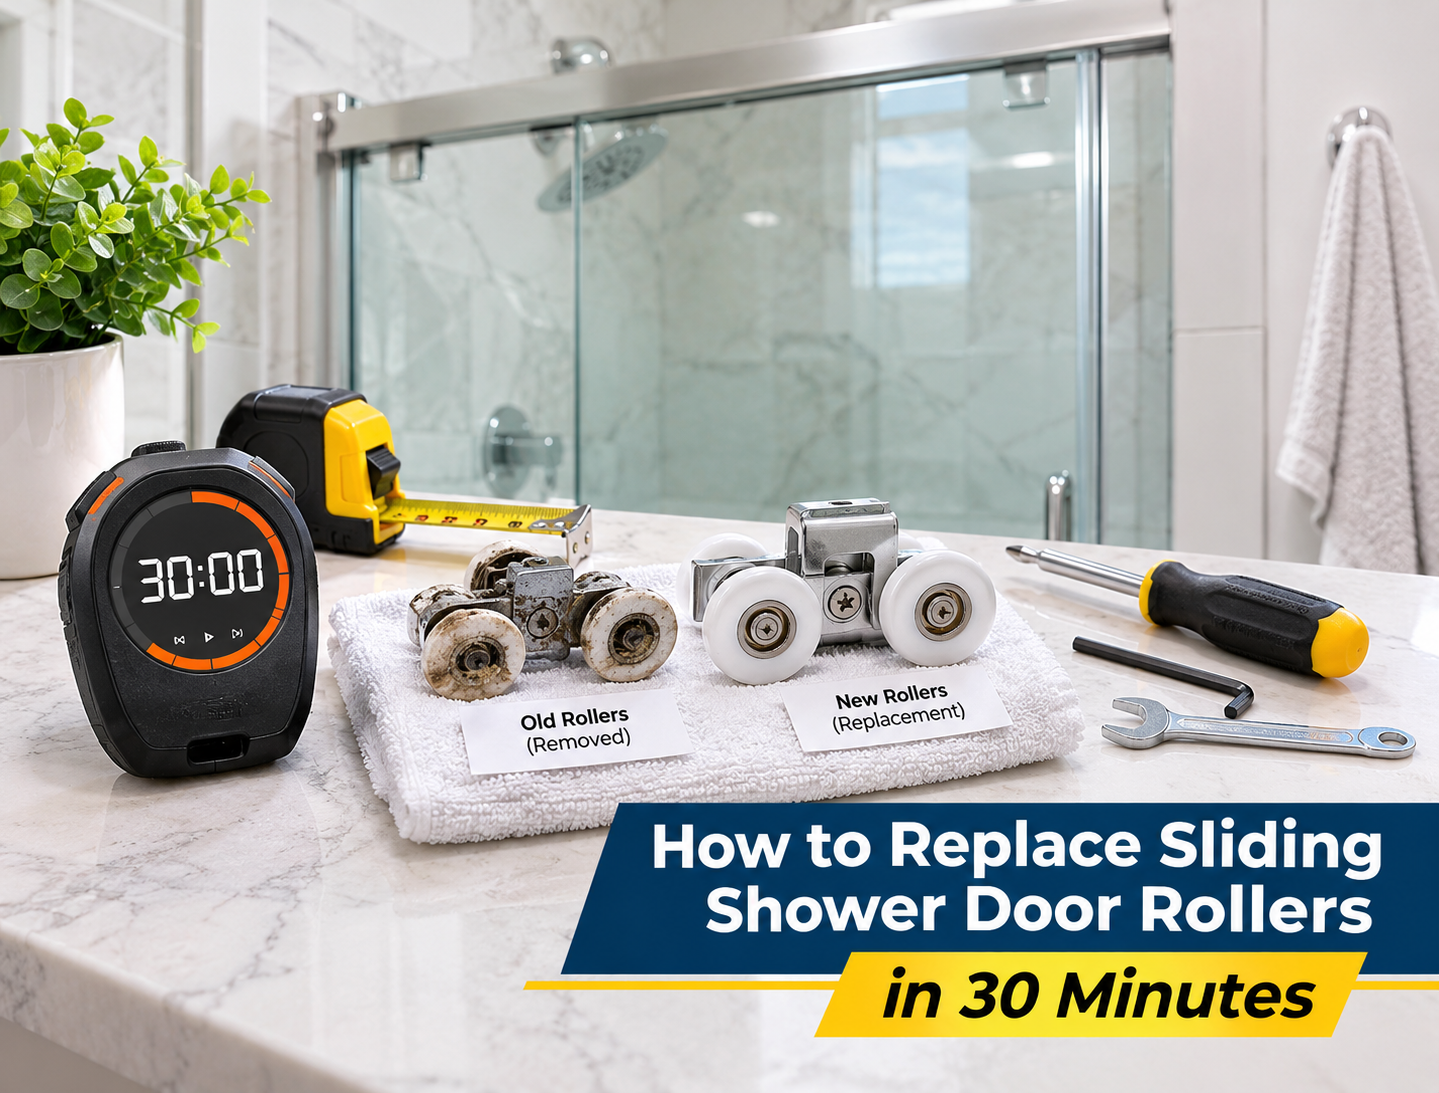


It may be possible to replace sliding shower door rollers in about 30 minutes when the correct replacement parts are already available, the glass and track are undamaged and the enclosure provides straightforward access to the mounting hardware. That time estimate does not include identifying an unknown roller, repairing a track or modifying replacement glass. Heavy frameless panels may also require professional handling, regardless of how simple the roller connection appears.
Before starting, read the installation or service instructions for the exact shower system. Roller assemblies differ in mounting method, gasket arrangement, adjustment range and anti-jump design. The following process provides a general overview, but the manufacturer’s instructions should control the actual removal, installation and torque requirements.
Before You Begin
Inspect the glass around every roller hole before loosening any hardware. Chips, cracks and damaged edges are reasons to stop because movement during roller replacement can cause compromised tempered glass to fail. The panel should also be supported so its weight does not shift onto one roller when the other assembly is removed.
Gather the correct hand tools, protective gloves, eye protection, clean padding and glass-handling equipment before moving the door. Daltex’s guide to installation tools can help identify tools commonly used for professional shower-door work. Metal tools should never be allowed to strike an exposed glass edge.
| Item | Purpose |
|---|---|
| Manufacturer-approved roller | Replaces the worn assembly |
| Correct hand tools | Removes covers and mounting fasteners |
| Protective gloves and eyewear | Helps protect the installer during handling |
| Clean moving blanket or rubber padding | Protects glass edges if the panel must be staged |
| Glass suction cups | Provides controlled handling for heavy panels |
| Soft cloth and suitable cleaner | Removes residue from the track |
| Manufacturer instructions | Confirms assembly order and adjustment method |
Step 1: Confirm the Replacement Roller
Match the replacement roller before removing the existing component. Confirm the shower system, glass thickness, wheel profile, track shape, mounting-hole size, axle or fastener dimensions, offset, finish and panel-weight requirement. A roller that fits over the rail can still be incompatible with the glass preparation or safety hardware.
If the door uses a Denali Series system, Daltex’s Denali replacement roller is designed for the Denali slider and 3/8-inch glass. The component is sold individually and offered in multiple finishes. The standard Denali design requires a 5/8-inch roller mounting hole in the tempered glass, but the existing system and panel preparation should still be confirmed before installation.
Step 2: Secure and Remove the Moving Panel
Close off the work area and position clean padding where the panel can be placed if removal is required. With a second trained person supporting the glass, follow the manufacturer’s procedure for releasing anti-jump components, stops or roller connections. Do not attempt to carry a heavy frameless panel by the handle or allow its bottom edge to contact tile, concrete or metal.
Some systems allow roller servicing with the panel supported in place, while others require the door to be completely removed. Do not improvise a shortcut because the order of disassembly may be part of the system’s safety design. If you cannot maintain full control of the panel throughout the process, arrange professional installation.
Step 3: Remove the Existing Roller
Once the glass is stable, remove the decorative cover and loosen the roller fastener using the specified tool. Keep track of the original gasket, sleeve, washer and fastener arrangement as the assembly is separated. Taking clear photographs before removal can help confirm the correct order during reassembly.
Inspect the mounting hole and surrounding glass after the roller is removed. The area should be clean and free of chips, scratches and metal-to-glass contact marks. Tempered glass cannot be drilled or enlarged after manufacturing, so stop if the replacement roller does not fit the existing hole.
Step 4: Install the New Roller and Protective Gaskets
Position every supplied gasket, sleeve and washer exactly as the manufacturer specifies. These components protect the glass and help distribute clamping pressure around the mounting point. Never substitute a random rubber washer or allow a metal roller body, bolt or spacer to bear directly against the glass.
Install the new assembly in its approved orientation and tighten it according to the product instructions. The connection must be secure, but excessive tightening can crush a gasket or create concentrated stress around the hole. If the roller provides height adjustment, leave enough controlled movement for final alignment after the panel is returned to the track.
Step 5: Reinstall and Align the Door
Return the glass panel to the track using the required number of people and appropriate lifting equipment. Reinstall the anti-jump devices, stops, guides and any components removed during disassembly. Before releasing support, confirm that both rollers are correctly seated and that the bottom edge of the glass is positioned within its guide.
Adjust the rollers until the panel is level and the clearances remain consistent through the full travel path. The glass should not contact tile, metal or the adjacent panel. Daltex’s parts guide provides additional compatibility considerations when a guide, stop or related component also needs replacement.
Step 6: Test the Complete Sliding System
Move the door slowly by hand while watching both rollers, the bottom guide and the stops. The door should travel quietly without wobbling, lifting or changing its alignment. Test several complete cycles, but stop immediately if the roller binds, the door tilts or the glass moves sideways beyond the control of the guide.
Confirm that the stops prevent excessive travel and that the anti-jump hardware remains properly positioned. Roller replacement is not complete until these related components have been checked. Daltex’s shower hardware guide explains how the track, guides, stops and rollers function as one coordinated system.
When the Job Will Take Longer Than 30 Minutes
A 30-minute replacement is not realistic when the original roller cannot be identified, the track is damaged, mounting hardware is corroded or the panel requires significant realignment. Additional time may also be necessary when the enclosure has limited access or the second roller, bottom guide and stops need attention. Ordering a similar-looking part before checking compatibility often creates a longer delay than completing the identification process first.
Do not rush the project to meet an arbitrary time target. Safe glass handling and correct assembly are more important than speed. If the glass is damaged or the hardware no longer matches the enclosure, Daltex’s repair service can help evaluate replacement glass and related components for Dallas-Fort Worth projects.
Common Roller-Replacement Mistakes
The most common mistakes include ordering by wheel diameter alone, removing hardware before supporting the glass, losing the original gasket sequence and overtightening fasteners against the panel. Installers may also focus on the damaged roller while overlooking the track, bottom guide, stops and anti-jump parts that contributed to the failure. A complete inspection helps prevent the new component from developing the same problem.
Another serious mistake is attempting to drill tempered glass for an incompatible roller. Tempered glass is fabricated before heat treatment and cannot be safely altered afterward. When the existing mounting hole does not match the approved roller, correctly fabricated replacement glass or a different compatible system is required.
Final Takeaway
You may be able to replace sliding shower door rollers in 30 minutes when the correct component is available and the surrounding glass and hardware remain in good condition. Begin by verifying compatibility, safely supporting the panel and preserving every protective gasket and safety component. After installation, align the door and test the rollers, guide, stops and anti-jump hardware as a complete system.
Frequently Asked Questions
1. Can I replace shower door rollers without removing the door?
Some systems permit limited roller service while the panel is securely supported, but others require complete removal. Follow the manufacturer’s instructions and never loosen a load-bearing roller while the glass is unsupported.
2. How long does shower door roller replacement take?
A straightforward replacement may take approximately 30 minutes after the correct part and tools are available. Identification problems, damaged hardware, difficult access and panel realignment can make the job considerably longer.
3. What size hole does a Denali shower roller require?
The standard Denali Series roller mounting preparation uses a 5/8-inch diameter hole in the glass. The glass must be fabricated with the correct hole before tempering because finished tempered glass cannot be drilled.
4. How tight should shower door roller hardware be?
The assembly should be tightened according to the manufacturer’s instructions rather than by feel alone. Overtightening can damage gaskets and concentrate pressure around the glass mounting hole.
5. Do I need two people to replace frameless shower rollers?
Two trained people are generally recommended when a heavy frameless panel must be supported, lifted or removed. Proper suction cups and padded staging surfaces may also be necessary for controlled handling.
6. Why is my new shower door roller still binding?
Binding after replacement may result from an incompatible roller, damaged track, incorrect height adjustment, a misaligned bottom guide or overtightened hardware. Stop operating the door and recheck the complete system rather than forcing the panel.